Get our independent lab tests, expert reviews and honest advice.
How to clean your vacuum cleaner
Need to know
- Keeping your vacuum cleaner well maintained is easy and can add years to its life
- Check the instructions for how to remove and replace the parts, as well as which parts are safe to wash
- Occasional disinfection of the cleaning head can be worthwhile
On this page:
- Before you start
- What you'll need to clean your vacuum cleaner
- Cleaning your vacuum after every use
- Cleaning your vacuum once a month (or after a few uses)
- Cleaning your vacuum once a year
- Do you need to disinfect your vacuum cleaner?
It’s ironic how your home’s vacuum cleaner can often be the dirtiest appliance in the house. By the time you’ve finished vacuuming, you might not feel inclined to give the vacuum cleaner itself a bit of love and care. But it’s worth it: a clean and well-maintained vac will do a much better job of picking up dirt around your home and will last longer.
We’ll explain how to clean the bin and the insides of the machine, change the filters, and sort out blockages, tangled hair and other problems.
Before you start
Before doing any maintenance on your vacuum cleaner, read the instructions for your model. These will show how to access and replace the filters, which parts are safe to wash, plus other helpful advice.
What you’ll need to clean your vacuum cleaner
Having the following items on hand will help you give your vacuum a thorough clean.
- A soft cloth for wiping it down.
- Scissors, a seam ripper or a small knife for removing tangled hair and threads.
- A small brush (such as an old dishwashing brush or toothbrush).
- A sink for cleaning parts of the vacuum cleaner.
- Disinfectant (such as isopropyl alcohol).
- A broom handle for clearing blockages from the hose.
- A second vacuum cleaner can be handy too.
The timing for each of the maintenance tasks below is just a suggestion. Any time your vacuum cleaner loses suction, emits musty smells or simply looks like a mess, give it some attention.
Cleaning your vacuum after every use
For bagless vacuum cleaners, empty the dust bin, and clean the cleaning head and brush rollers.
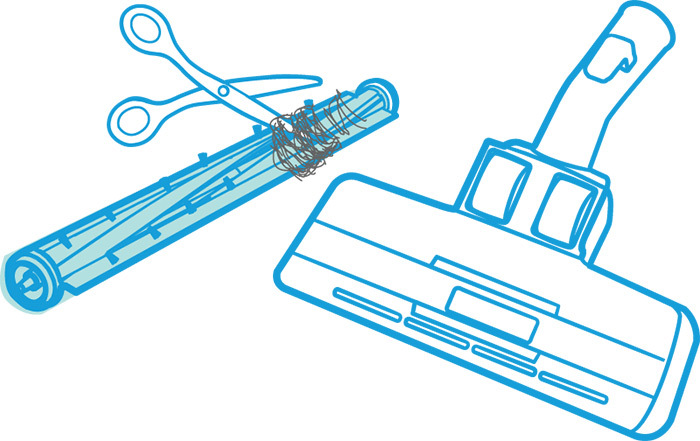
- If the floor head has a brush roller, you can usually remove it for easy cleaning. Check the instructions for how to do that as each vacuum is different.
- Remove any hair or threads tangled around the roller by carefully cutting them with scissors, a thread ripper or a small knife. Take care not to cut the roller bristles or yourself!
- Clean the roller head and bristles of any dust, lint and hair – a small brush can help with this. If the roller is very dirty, you can often wash it under a tap. Make sure it’s dry before you re-install it.
- Check the inlet (opening) on the cleaning head for any blockages.
- Put the roller back in if you removed it, and make sure it’s seated correctly.
- For multi-floor cleaning heads, there may be a hard floor setting which lowers a soft edge of bristles around the edge of the head. Lower these and clean them of any built-up lint and dirt.
CHOICE tip: For cleaning the head, a quick method is often to disconnect it and use the end of the wand to suck away any lint and dust. Alternatively, a second vacuum (such as a handheld vac) can make quick work of some of these tasks.
Check the hose for obstructions like Lego bricks, wads of paper, buttons and hair clips. You’ll usually know straight away if anything gets stuck in the hose, but sometimes blockages can build up over time. To do this:
- disconnect the hose and give it a shake to see if anything rattles or falls out
- check each end for visible blockages, and push a broom handle carefully down the hose to feel for blockages and push them out.
Cleaning your vacuum once a month (or after a few uses)
Check the manual or manufacturer website for a guide on which filters can be removed and washed, and how to do it.
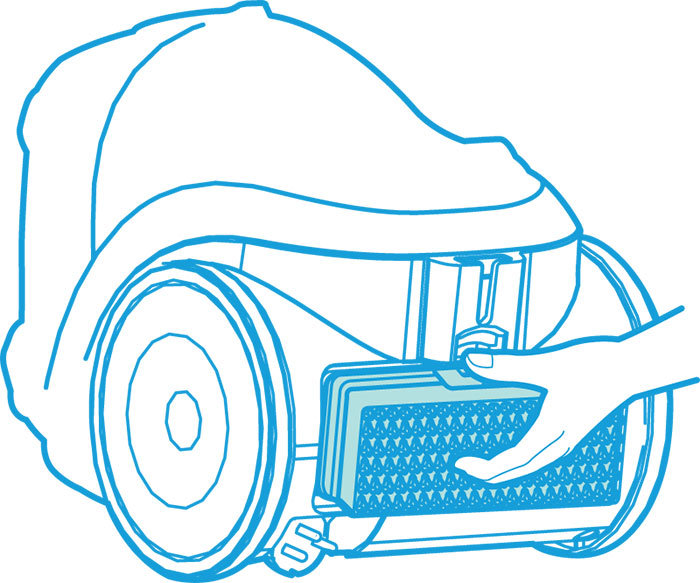
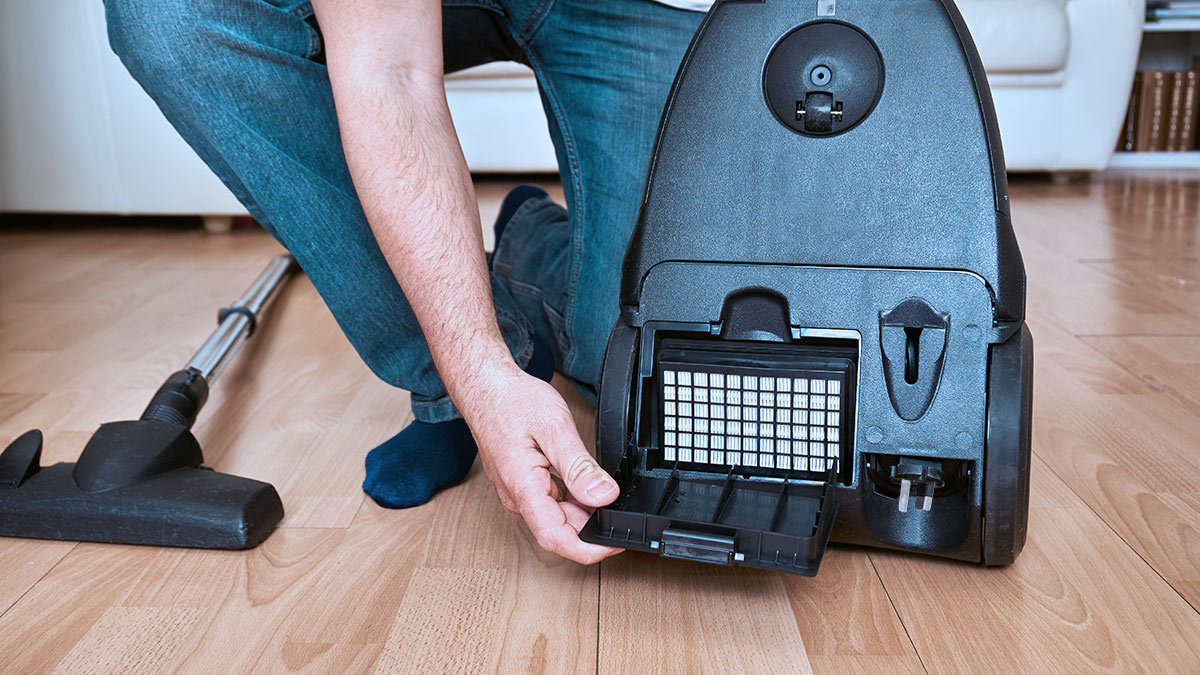
Brush the accumulated dust off any washable filters (we recommend doing this outside) and wash them under a tap or in a sink of warm water if possible.
- Most vacuum cleaners have a pre-motor filter between the bag/bin and the motor. This filters the air blowing through the bag or bin to make sure no dust gets into the motor. They may also have other filters such as a HEPA or other filter for the exhaust air blown out from the motor to make sure no fine particles escape back into the household air.
- Pre-motor filters are usually coarse material that can be brushed off and rinsed under a tap or washed in warm water. Make sure they’re completely dry before you install them back inside the vacuum cleaner.
- HEPA filters can usually be gently brushed or shaken to remove any built-up dust, but they usually can’t be washed. Check the manual for whether yours can be washed and for any specific cleaning instructions.
Wipe down exterior surfaces of the vacuum with a soft damp cloth.
Replace the bag
For bagged models, replace the bag when it’s about two-thirds full. Leaving it until it’s completely full will affect the suction and your vacuum won’t perform as well. Also, leaving dirt to sit for too long may encourage mould and germs to build up inside the bag.
While you’re changing the bag, take the chance to clean stray dust from the bag compartment with a damp cloth (or use a second vacuum cleaner – a brush accessory is ideal). Make sure the bag compartment surfaces are dry before you put in the new bag and close the compartment.
Cleaning your vacuum once a year
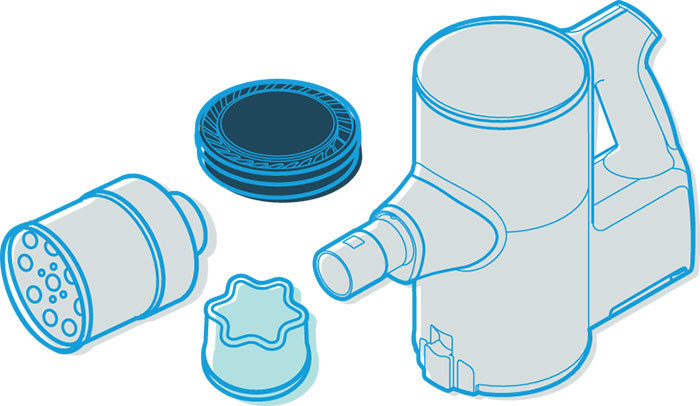
Replace the filters if needed. Check the manual for the recommended timing for this. If the filters look clean and you’re not having any problems with suction power or with dust and smells escaping the vacuum cleaner, you probably don’t need to do this yet.
For bagged vacuum cleaners:
- Replacement filters are often supplied with each pack of replacement bags.
- Check the instructions for how often the filters should be replaced.
- If in doubt, a good rule of thumb is to replace the filters when you install the last bag from the pack.
- If you need to buy replacement filters, check the instructions or the manufacturer website for the right filter type. You can often order them directly online, or from a retailer.
For bagless vacuum cleaners:
- Remove and clean the dust bin/canister.
- If possible, wash it in warm water.
- You may be able to remove and wash the hose, wand and accessory heads too, if they’re very dirty.
- Make sure all parts are completely dry before you put the vacuum cleaner back together.
Replacing worn out parts
To extend the life of your vacuum, you should replace any worn out parts such as the hose, roller drive belt and accessories. Check the part numbers in the instructions or on the manufacturer’s website. You can usually order new parts directly from the manufacturer but you may also find them from other retailers.
Do you need to disinfect your vacuum cleaner?
The floor is where a lot of household dirt collects, and where there’s dirt there are often germs. So it can be worthwhile to occasionally disinfect the underside of the cleaning head and inside the dust bin of a bagless vacuum. This is especially true if you have young children or pets in the house, who can come into contact with dirt and other nasties on the floor, and may be the ones tracking it around the house in the first place. Disinfection can also be important if there’s anyone sick at home.
However, always check the manual first. Some manufacturers recommend against using detergents and other chemicals on the vacuum cleaner and say that only water or a slightly damp cloth should be used for cleaning the vacuum cleaner.
If it’s OK to use a disinfectant, isopropyl alcohol is a good option as it’s effective and quick drying, but any household disinfectant liquid or spray can be used. Be careful not to get any disinfectant into the motor compartment.
If it’s not recommended to use a disinfectant or you’re unsure, a thorough wipe with a cloth is still a good idea and will help remove any germs. Just make sure everything is dry before re-assembling and using the vacuum cleaner.

