Get our independent lab tests, expert reviews and honest advice.
Best cleaning hacks for microwaves, air fryers and other hard-to-clean appliances
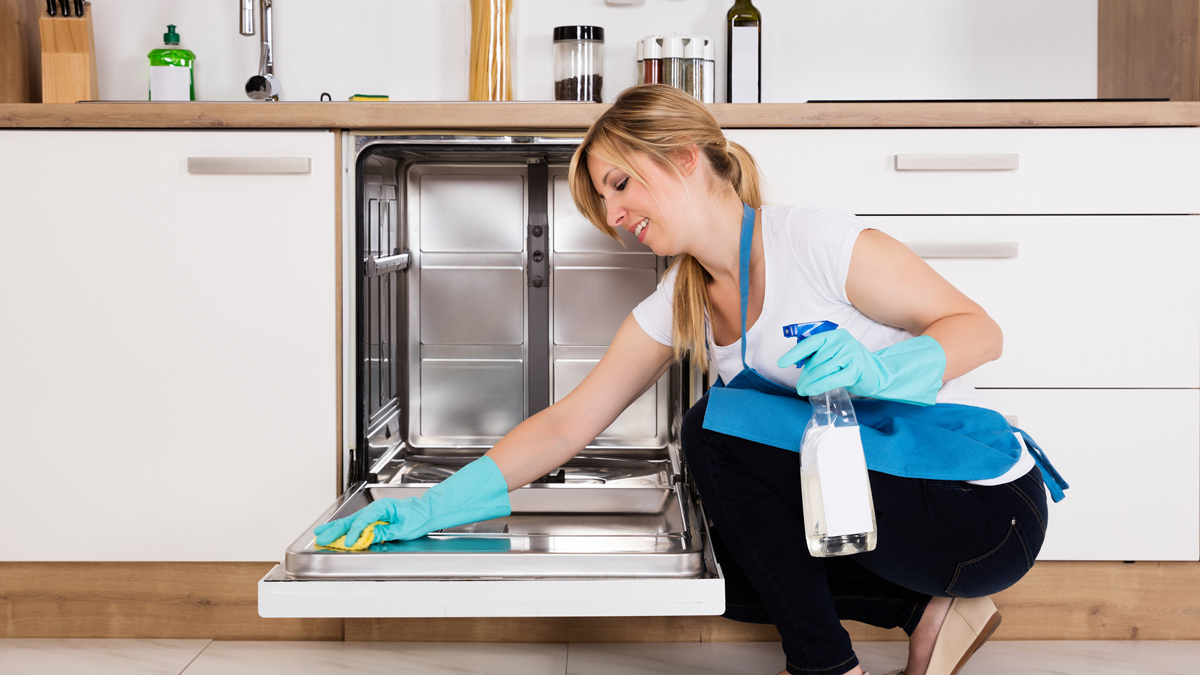
Some appliances stay shelved purely because they’re so onerous to clean. Others that are used daily continue their service with only the most cursory of wipe downs, if that. Somehow, we manage to turn a blind eye to the grease streaks and baked-on cheese – until, one day, we just can’t stand it anymore and the gloves come on.
But surely… surely there must be an easier way to tackle some of these appliances, with their hard-to-reach places and crumb-attracting crevices? The good news is that there is. So we’ve rounded up some little tricks to make these tasks easier and, hopefully, quicker too.
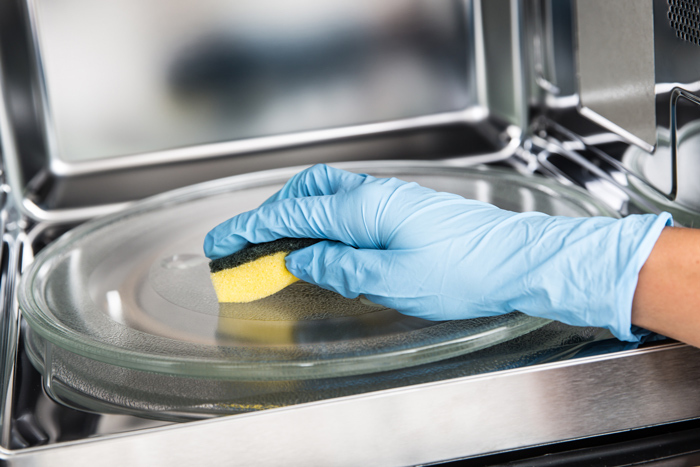
Microwaves
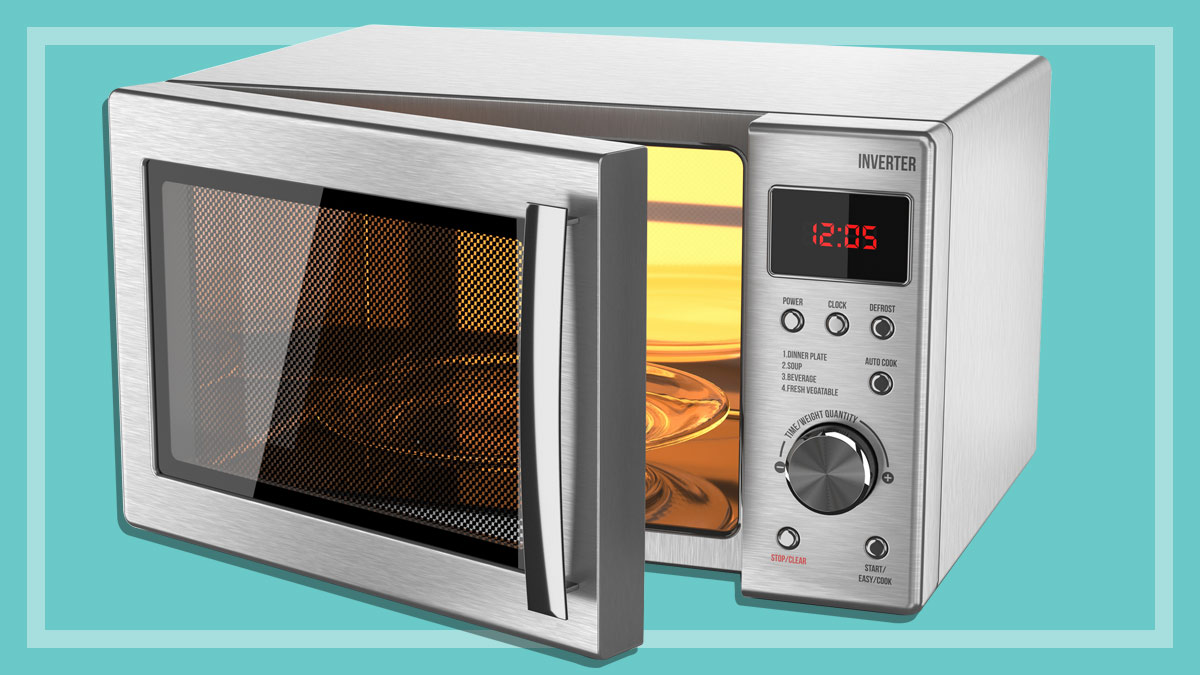
These everyday heating machines are made for pure convenience. But what isn’t convenient is the lingering odour that assaults your nasal passage when you open the door hours after reheating last night’s curry.
Many microwave cleaning hacks have gone viral on social media platforms such as TikTok. But CHOICE expert Fiona Mair says the best, least toxic way to eliminate the pungency of trapped smells is to use lemon and water.
“Place lemon slices in a microwave-proof bowl of water and heat on high for two to three minutes, before allowing to sit for five minutes while the steam gets to work deodorising,” she says. “Give the walls and door a quick wipe down with a microfibre cloth and you have a fresh, lemon-scented microwave.”
Blenders
Short on time or just can’t stand scrubbing the blades on your blender? Once you’ve finished making your morning smoothie, rinse out any residue, then squirt a small amount of detergent straight in the jug. Add water and blitz. The soapy water will whizz-clean the blades and sides of the jug, doing most or all of the work for you.
Jaffle makers
These appliances may just take the prize for Most Infuriating to Clean.
First, let’s talk about preventative steps. Before it heats up, wipe a little olive oil or butter around the edges to make sure cheese doesn’t get ironed on during the toasting. Also, make sure your jaffle iron is at peak heat before adding your sandwich.
To clean, unplug and wipe it down with a dry microfibre cloth to brush away the crumbs, then use a damp cloth to wipe over. For any stubborn baked-on bits, wet a paper towel and plop it onto the spot while you go and eat your toastie. By the time you come back, it should be much easier to wipe away.
The worst problem with jaffle irons, though, is often the crevices between the plates, followed by the hinges, which can become clogged with cheese and other particles. So use a wooden toothpick to pick bits out once they’re cool and dry.
Ovens
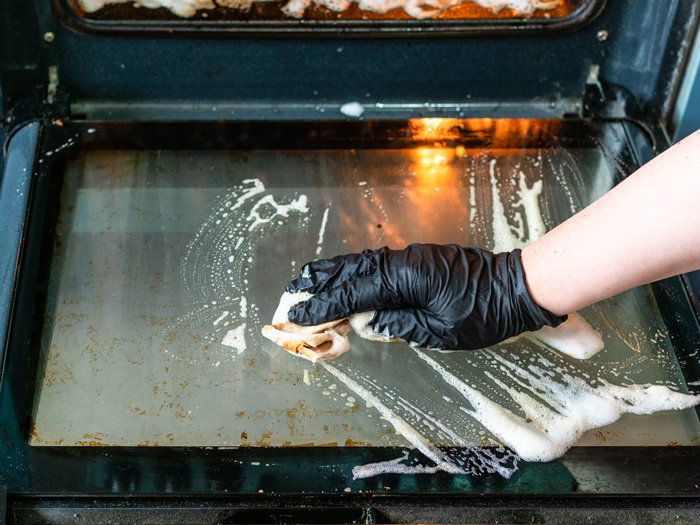
There may not be a silver bullet for cleaning your oven, we’re sorry to report. So unless you have a self-cleaning pyrolytic oven, you can still expect to use some elbow grease to get the job done.
That said, you can make the task easier on yourself, and potentially reduce your need for harsh cleaning products, by wiping your oven down after each use.
To clean grubby oven racks, soak them in a laundry tub (or the bathtub!) with an enzyme-based detergent
Wiping down, Fiona says, “reduces any baked-on residue from building up and causing the oven to smoke and smell”. Sure, you may not feel like wiping your oven down after you’ve just made a roast. But if you incorporate it into your usual routine, you’ll find that it pays off when the time comes for a big, deep clean, because the job will be half done.
For those unsightly drip stains on the glass, though, removing the doors and glass (if possible) is often the only real way to restore sparkle and clarity. But that’s a job for future you! When that day comes, be sure to check out our guide to cleaning your oven.
CHOICE tip: A dirty oven can affect its overall performance, so it’s important to clean it regularly. To clean grubby oven racks, soak them in a laundry tub (or the bathtub!) with an enzyme-based detergent for a few hours, or overnight.
Coffee machines
As home baristas know, to keep the quality of your espresso at its best, you need to clean your machine regularly. This can involve specially formulated solutions to run through the machine and to soak portafilters in. But there are some clever little hacks that make the job less punishing and actually rather satisfying.
To keep the quality of your espresso at its best, you need to clean your machine regularly
First, find a new toothbrush to become the designated coffee cleaner and use it to scrub any built-up grinds from the shower head (that’s where the water comes out). Over time, the grinds can also become stuck in the group head, too, so use the toothbrush to brush them out. Alternatively, twist a slightly damp paper towel into a spear and run it around the group head to pick up any stragglers.
For the milk-steaming wand, grab a pin or paperclip to unclog carefully the milk build-up from the holes of the nozzle. Let off a burst of steam from the wand once you’ve finished to dislodge any remaining dried milk.
Other cleaning must-dos for coffee machines
- Keep a cleaning cloth you use only for your steam wand and wipe it down immediately after every use (don’t use your usual surface cloth!).
- A microfibre cloth is great for removing fingerprints from those shiny surfaces.
- If you’re buying branded cleaning products for your espresso machine, such as descaling liquid, cleaning tablets or specialised cleaning kit, shop around rather than buying directly from the retailer, as prices can really vary.
Dishwashers
Yes, you can buy products that promise to deep-clean your dishwasher, but a cheaper and effective alternative is to use that miracle household cleaner: vinegar.
Every so often, when your dishwasher may be smelly or in need of a purge from grease, limescale and other gunk, add a few cups of vinegar to a bowl on the bottom rack of the dishwasher when empty and run the hottest cycle. No harsh chemicals needed.
CHOICE tip: Clean your dishwasher filter regularly (at least every three to six months, depending on how much you use it). This can help stop food particles making their way into the heart of the machine. Run it under water or use a soft brush to remove any obstructions.
Air fryers
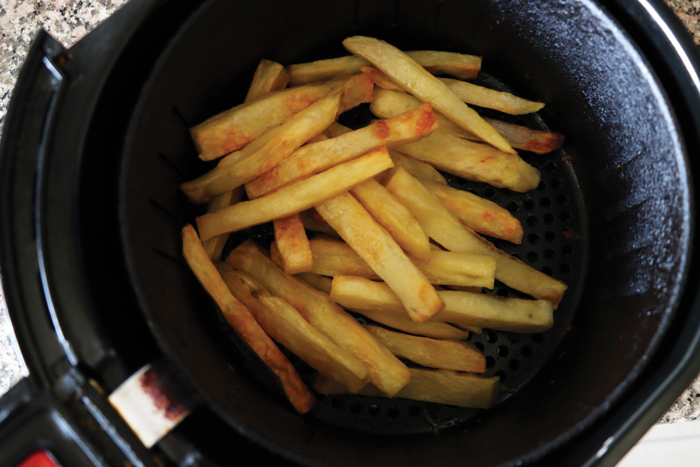
These plug-in cookers are hailed for their ability to simplify cooking and save precious time. But, like many benchtop items, cleaning them can be an unmitigated bore. They have lots of parts and, despite being light on the oil, grease and fat still accumulate in the tray. This can be a hazard, so it’s important always to wipe away the build-up once you’ve unplugged your appliance. “It can start to smoke and even catch alight, depending on where the residue is,” says Fiona.
You’ll need to clean the basket, tray and any mesh parts of the fryer. Rather than scrubbing away vigorously, which can damage the mesh, our little hack is to get a trusty wooden toothpick. Use it to dislodge crumbs and food remnants from the mesh and grill.
Prevention is often the best measure, so Fiona suggests adding a little water to the base of the drawer to stop the fat from smoking, which will cut down on cleaning later. You can also add a mixture of vinegar and lemon juice to the basket and run the fryer for a few minutes to get rid of any smells.

